Getting started
LineRig is a desktop app for Windows and macOS. The free demo and the full version are the same app; a licence key unlocks the full version (see Licence and FAQ).
Install
Section titled “Install”- Download the app from linerig.com/download.
- Windows: unzip the folder and start
LineRig.exe. macOS: open the disk image and drag LineRig to Applications. - The app is not code-signed yet, so the first start shows a warning:
- Windows: More info → Run anyway.
- macOS: right-click the app → Open → Open. If there is no Open button: System Settings → Privacy & Security → Open Anyway.
You need Windows 10/11 (64-bit) or macOS 12 or later, a DirectX 11/12 or Metal capable GPU and 8 GB of RAM.
The first start
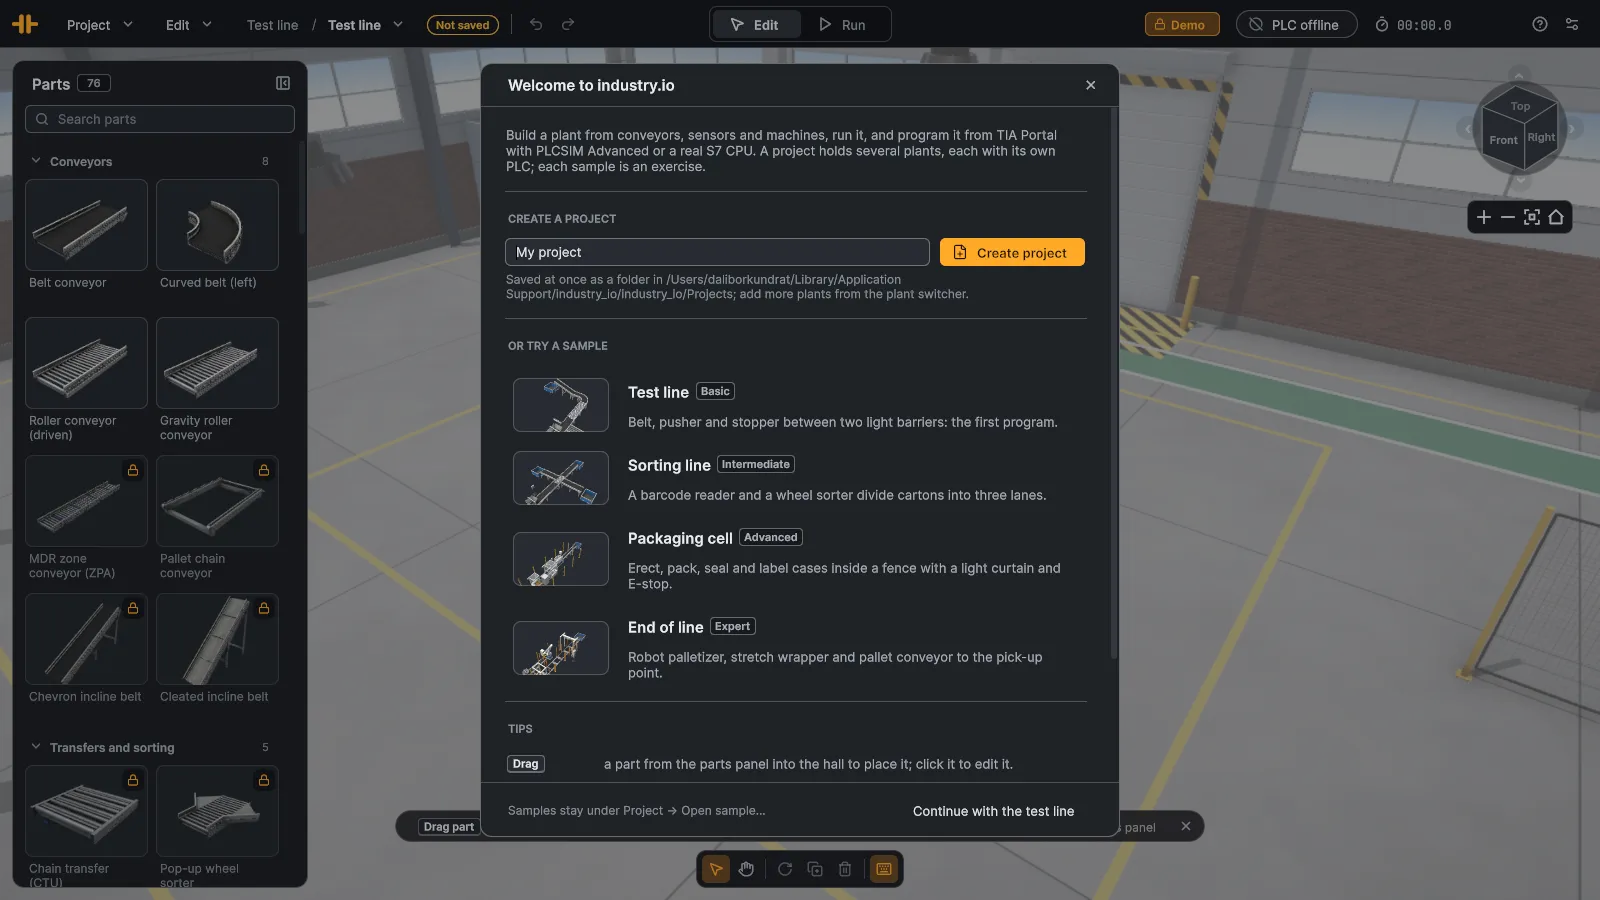
Section titled “The first start”A welcome card offers the sample plants or an empty plant. Pick the Test line to look around. The samples stay under Project ▸ Open sample….
The screen
Section titled “The screen”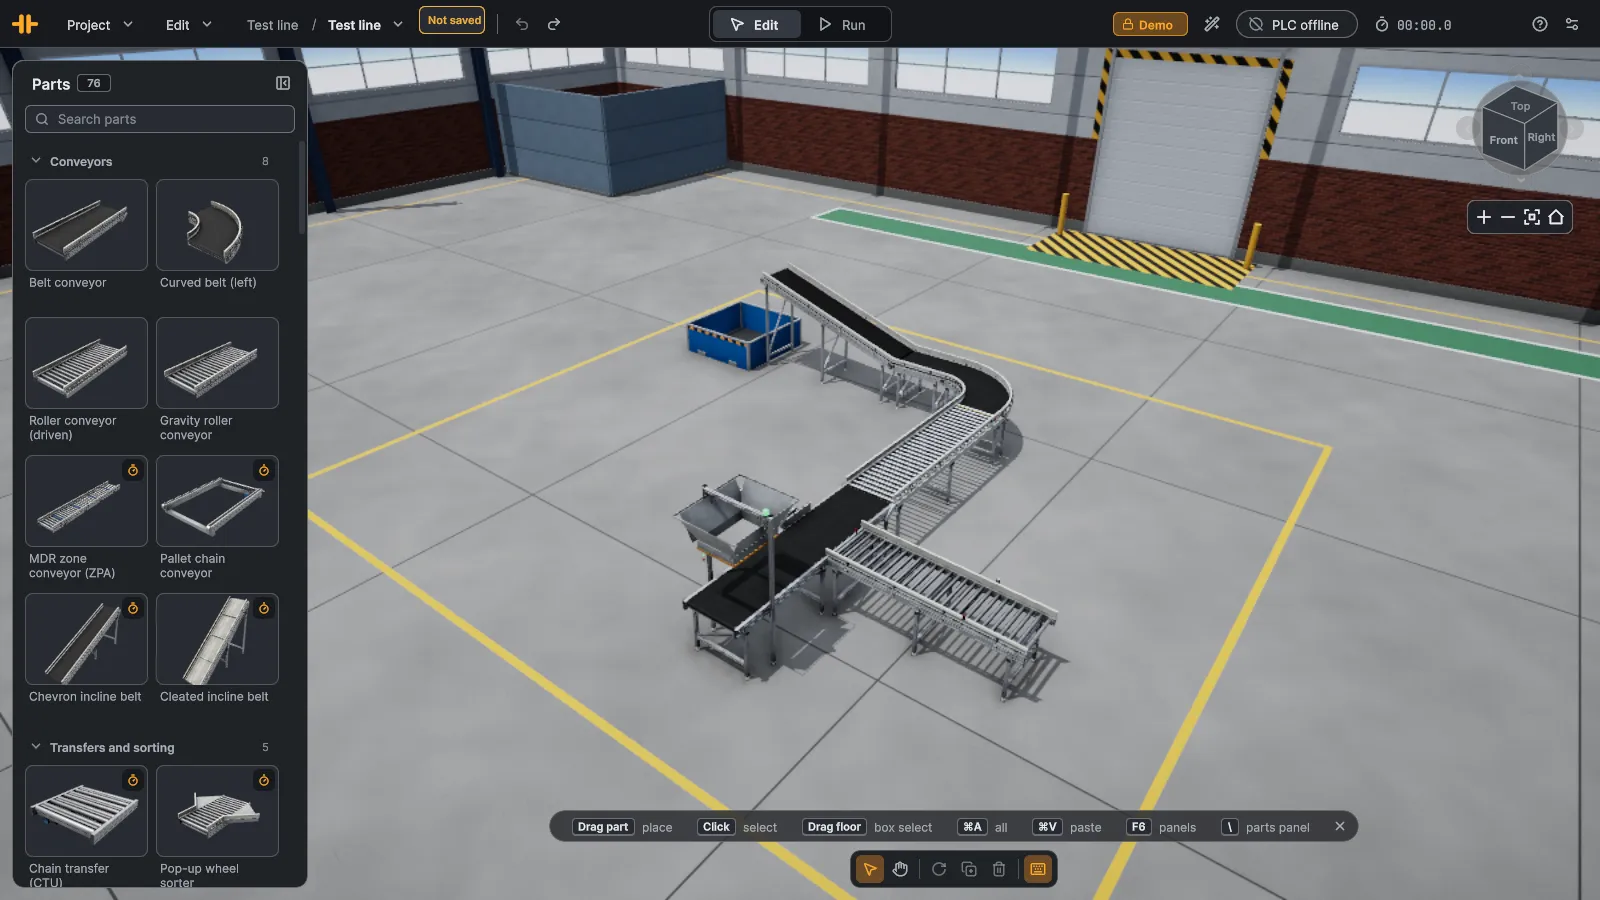
| Where | What |
|---|---|
| App bar (top) | the Project menu, the plant switcher, Undo / Redo, ▶ Run, Pause, ■ Reset, the PLC pill, the clock, the AI assistant |
| Parts (left) | every part you can place, with search |
| Properties (right, Edit mode) | name, position and settings of the selected part |
| Signals (right, Run mode) | the plant’s PLC signals; click one to force it |
Try it
Section titled “Try it”- Open the Test line and click ▶ Run (or press Space).
- In the Signals card click All conveyors forward: the loads start to move.
- Click
Stopper1.Raiseto hold the loads at the stopper; click it again to let them go. - ■ Reset takes you back to Edit mode with the plant exactly as before.
Next: Basic controls.